
EDIT: For the record: DONT do this. Unless you are on a super, super, super tight budget, buy these:
http://www.pololu.com/catalog/category/71
together with these:
http://www.pololu.com/catalog/category/70
Seriously. Make life soooo much easyer.
************************
I stumbled across John Liu's Phi Connect and loved everything about it, except that he doesnt have an Arduino Mega version.
check it out: http://liudr.wordpress.com/gadget/phi-connect/
*
I am prototyping a lot with the Arduino Mega at the moment, and I wanted to improve my cable management, so this is what I came up with.


I have 24 leads connected. 8 go to analog in 0 - 15, 4 go to digital 2 - 7 (as I dont use pin 0 & 1 anyway...) which leaves me with a power and ground cable. works very nicely for me, especially as my actual application has to be semi-independent of the arduino.
If anyone plans on doing this for themselves, here is how I ended up doing it.
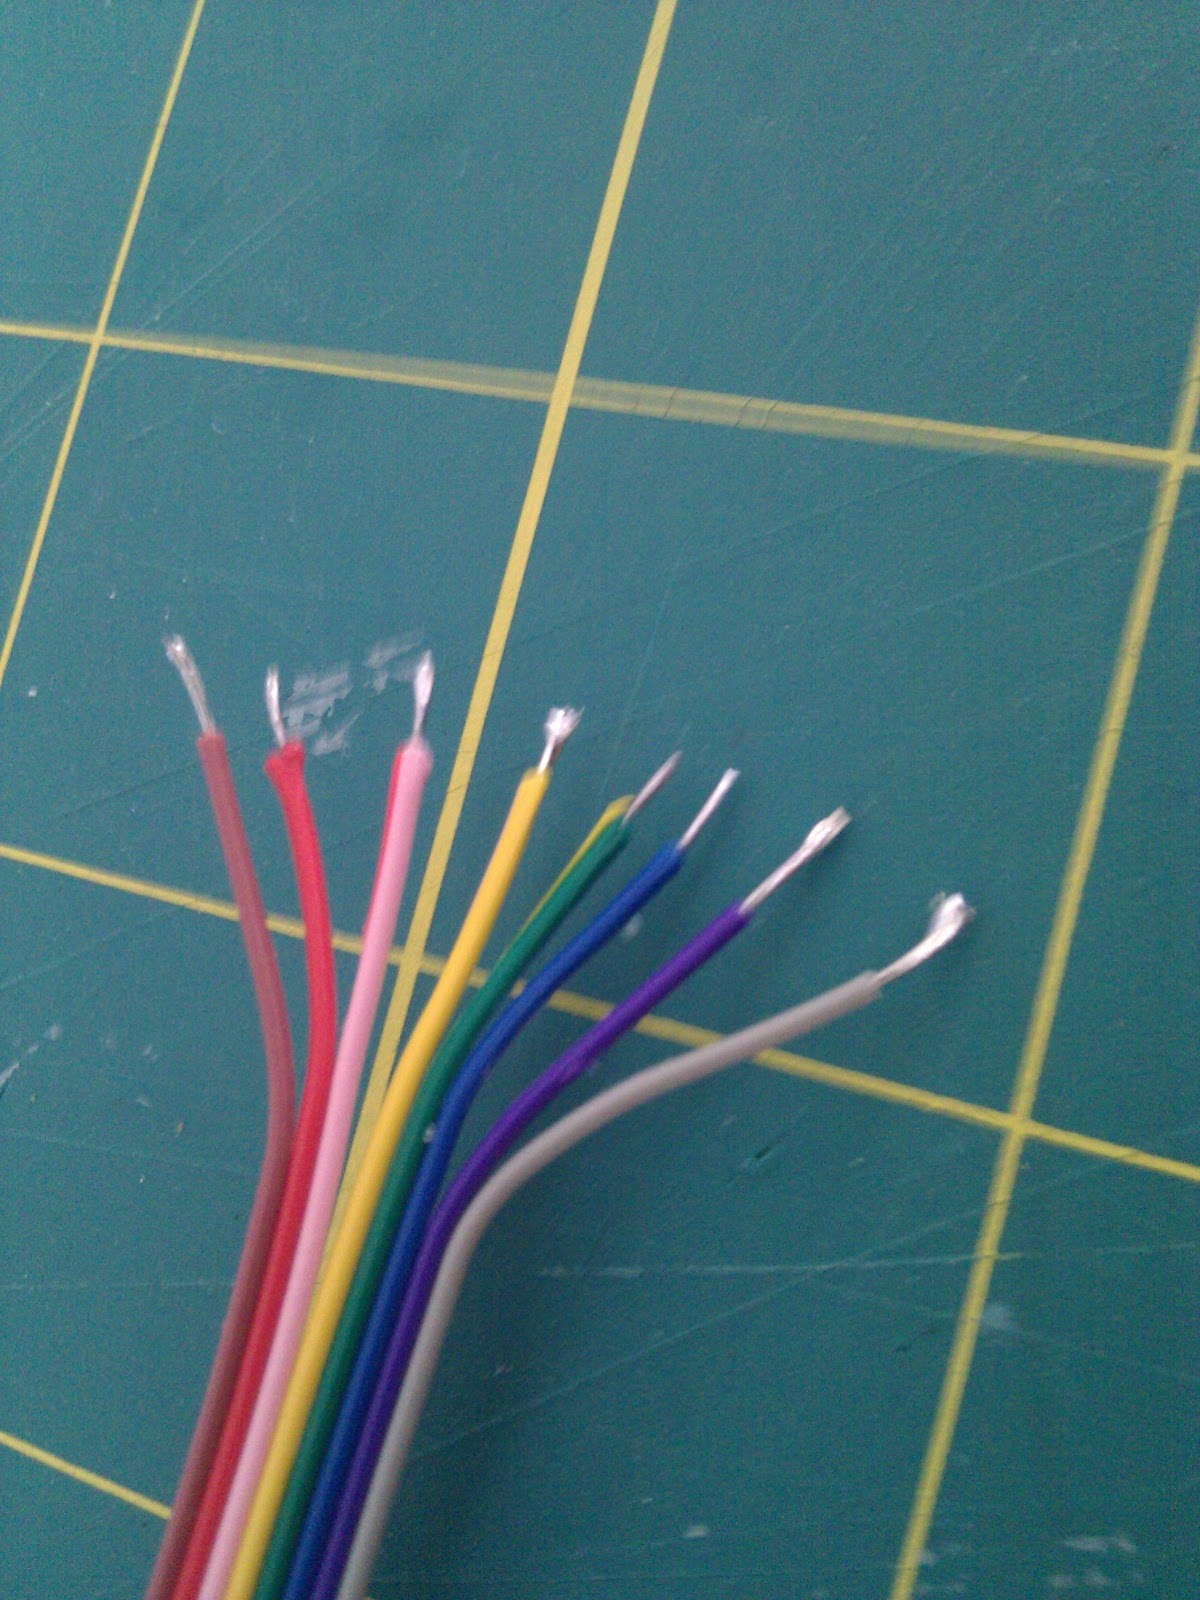
a) Prepare the wire


After crimping them, I put a ton of solder on both the cable and the pinheader.
Soldering the pinheader is a real pain. The stuff just wont stick to it, and if you fool around too much you start melting the plastic and the pins get loose/crooked etc.

Its inportant however, becouse once thats done, you can just push them together with your soldering iron. Your other hand will be free, as you dont need to add anymore soder, so you can use it to make sure the cable and the headers line up perfectly. If you bend the cable in the right shape, and apply the right amount of solder beforehand you can solder several leads at the same time... after doing this a couple of times you learn how to do it quite efficiantly.
Once it was done I made sure that there where no connections between the cables, wrapped it up with electrical tape and thats all there is to it.


It was more work than I had anticipated ... but assuming they last me for a while, its definitifly worth it.


